
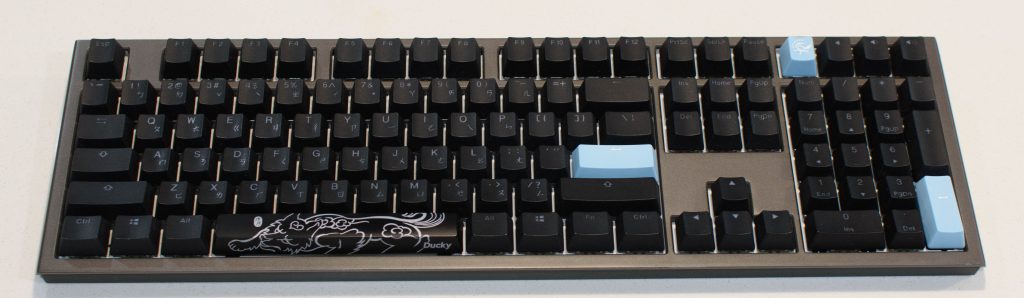
While packing my bag for work one morning, I accidently knocked my vacuum flask over and spilt some water on my desk. Some water had gotten on my keyboard, but it wasn’t until I got back did I realise that something was wrong when a random number of LEDs were stuck on. In this blog post, I will run how I went about identifying and repairing the faulted LEDs.
Disassembly
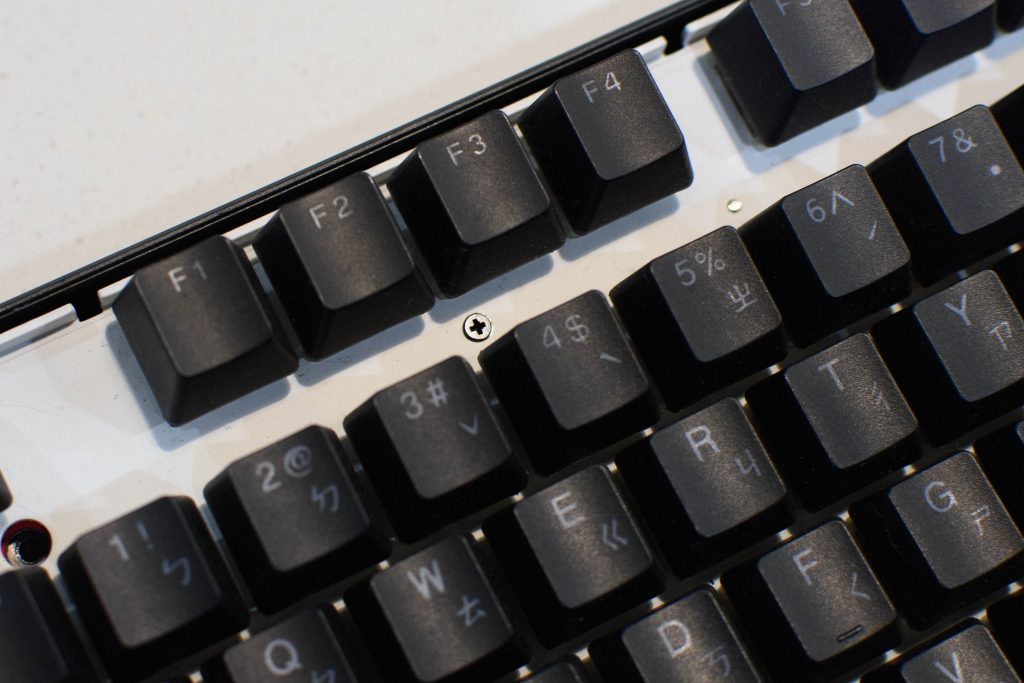
The keyboard is held together with 9x 1.5 mm hex screws.

Once undone, the top frame comes off revealing the inner frame where the switches and PCB are mounted. There are 2x PH00 screws that hold the inner frame to the bottom plastic cover.
Removing the inner frame assembly will allow access to the underside of the PCB where the backlight LEDs are mounted.
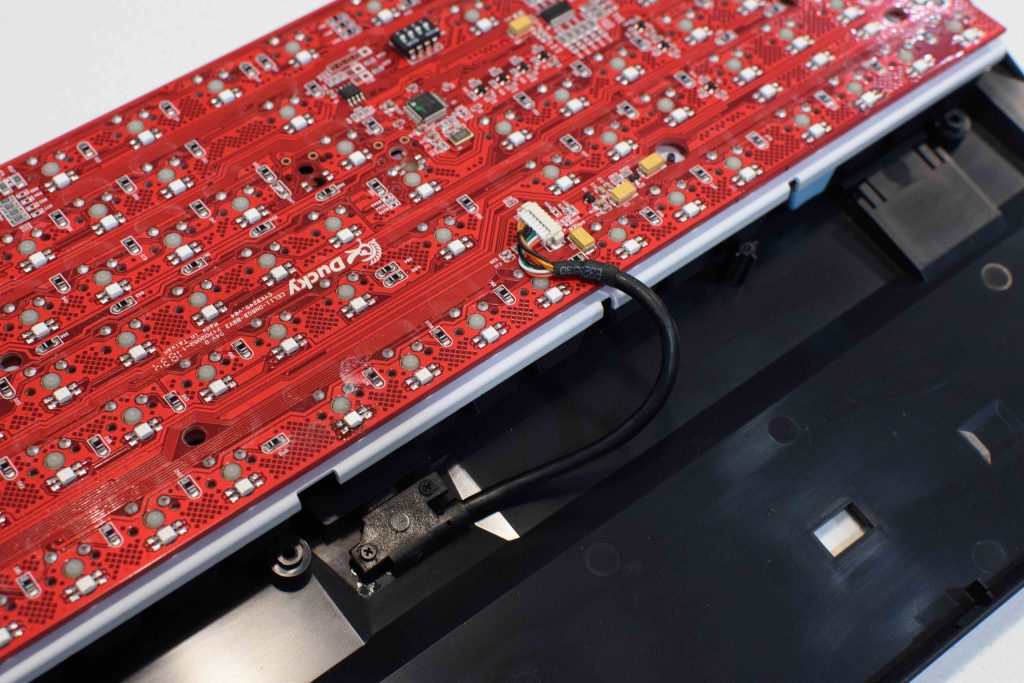
When I initially opened this up, I was greeted with some traces of corrosion on some of the LEDs which were also conveniently the ones that didn’t light up. This gave me a good idea on where to start probing.
Troubleshooting
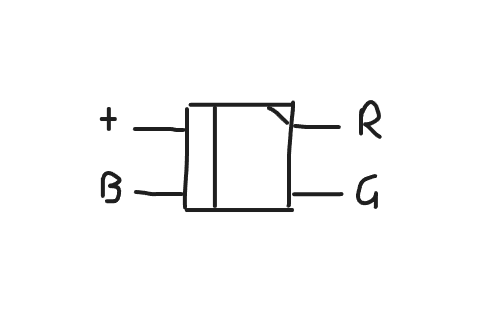
The LEDs have 4 terminals and are metric size 3228 (3.2 mm by 2.8 mm, excluding leads). With the leads, the length measured 5.93 mm, close to 6 mm. According to my probing, there is a common anode terminal and the remaining 3 are the cathodes for the red, green, and blue LEDs.
I proceeded to measure the voltage drop of the problematic reading LEDs and they measured close to 0V. For reference, these are the following voltage drop values I measured (out of circuit).
| Colour | Voltage drop (V) |
|---|---|
| Red | 1.8 |
| Green | 2.3 |
| Blue | 2.5 |
This near short explains why some seemingly random LEDs were always lit. Once I removed the failed LEDs, of which there were 3, the rest of the array went back to normal. Now all that was left was to find a suitable replacement LED.
I searched around for ‘3228 LED’ and came across quite a few different variants. Some were individually addressable and some had different pinouts. From measuring the LEDs and the rails on the keyboard, I knew they were not individually addressed so all that was left was to get the right pinout.
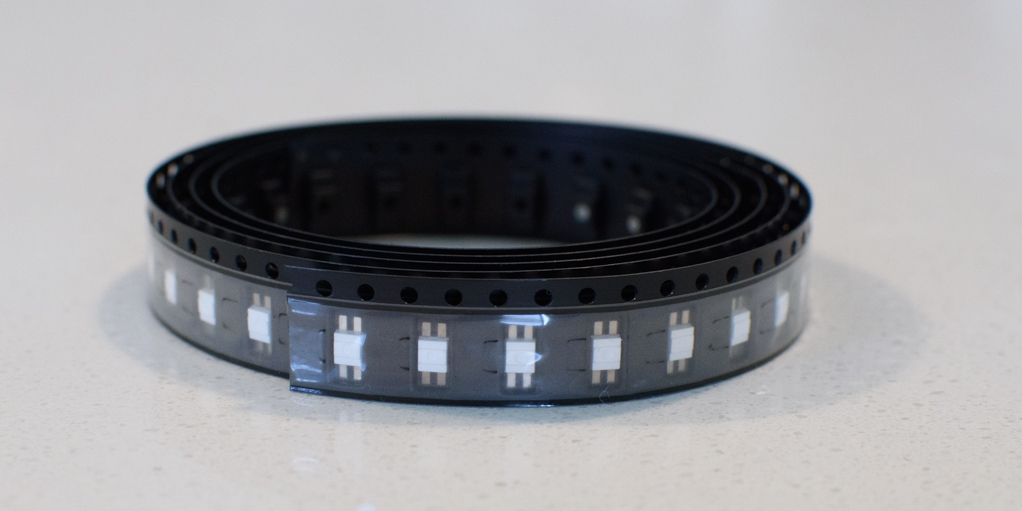
Some more browsing later, I ended up buying this item from Aliexpress – 100 pieces for approximately $6 AUD. Apart from the pinouts, I was not sure if the other specifications matched, but I decided to try my luck. It arrived in cut-tape form and was packaged in an anti-static bag.
Next I soldered on 3 new LEDs to replace the faulty ones.
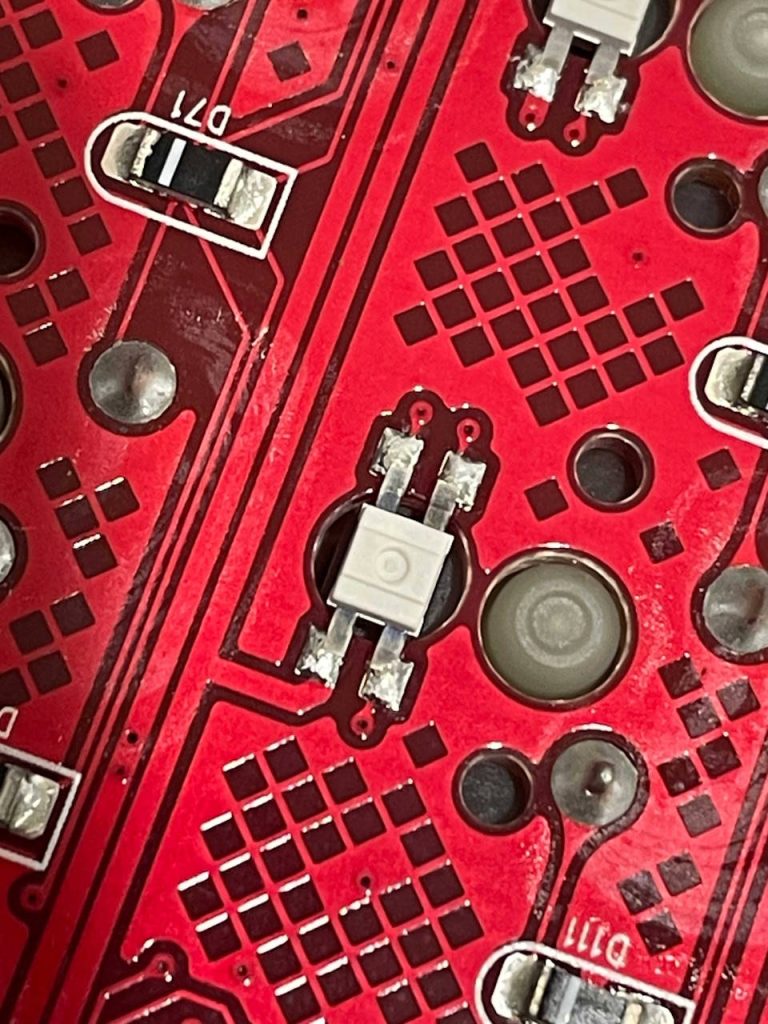
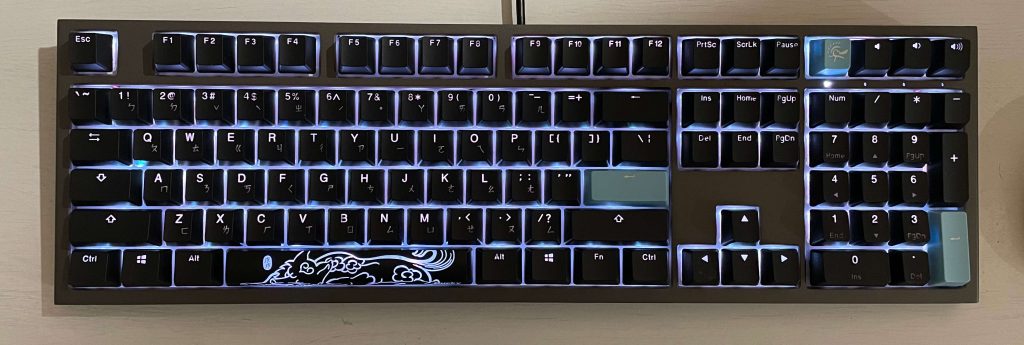
And… they worked! The LEDs matched the original ones so closely, in brightness and colour, you couldn’t even tell they were replaced.
Conclusion
So there you have it, replacing broken LEDs on a Ducky Shine 7 keyboard. I would imagine the replacing the LEDs for a lot of other gaming keyboards would follow a similar process. The hardest part would be trying to source the same LEDs. I did actually reach out to Ducky asking them about replacement LEDs and, to my surprise, they did response with the dimensions of the LED. Even though that was all they were willing to provide, it was a good enough starting point for me.